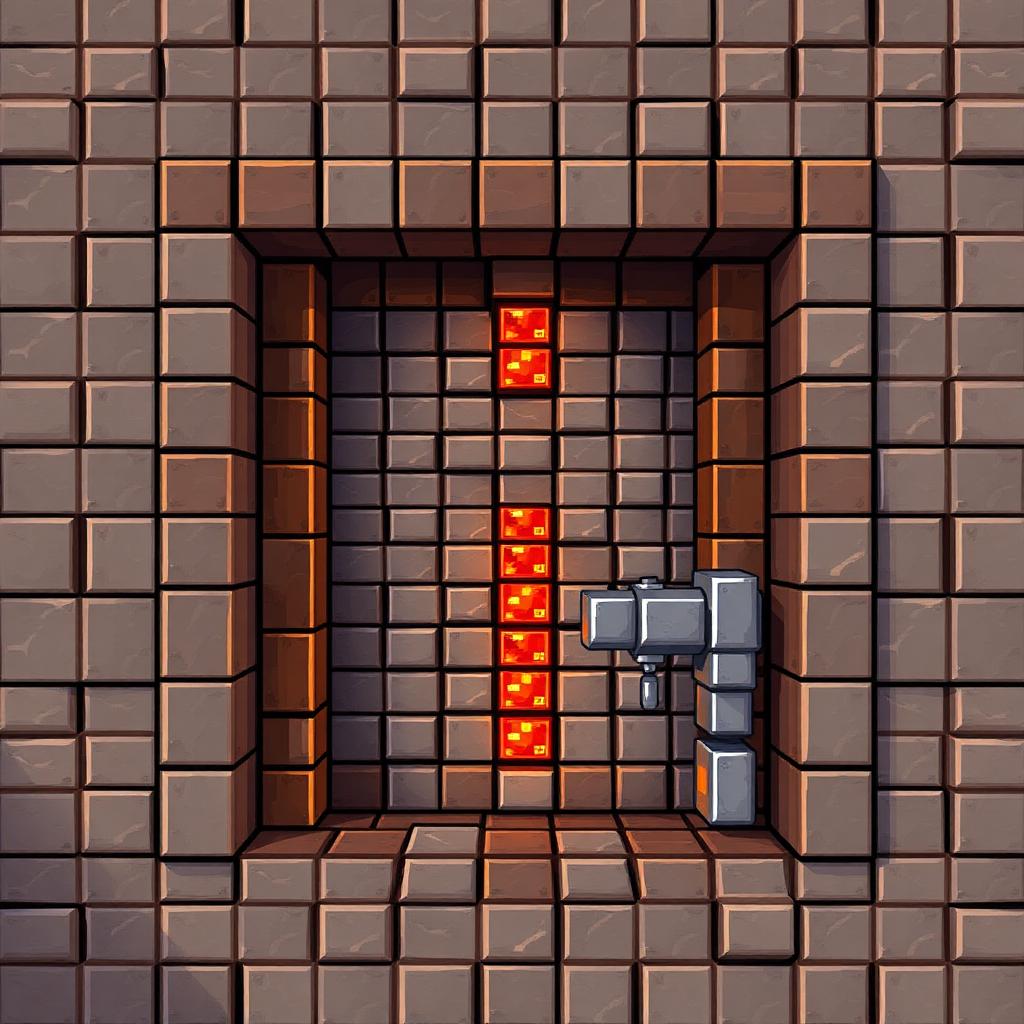
The Ultimate Secret Door Trick in Minecraft
A Hidden Entrance You Can Build in Minutes
A Hidden Entrance That Actually Works
A sticky-piston door can disguise a passage as part of your base’s wall, but it needs a precise layout. Pistons move blocks only along their facing direction; they do not automatically pull a flat wall backward and sideways. This guide builds a practical, one-block-wide, two-block-high sliding entrance with a concealed side pocket. It is recessed rather than a fully flush piston door, making it easier to wire and troubleshoot.
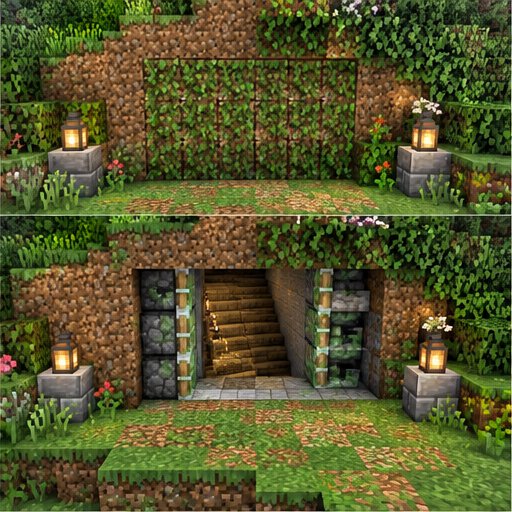
The design uses ordinary sustained redstone power, not short-pulse tricks or Java-only quasi-connectivity. It is suitable for modern vanilla Java and Bedrock Edition, although you should test it before decorating, especially on servers with modified redstone behavior.
Materials and Space
For the moving mechanism, gather two sticky pistons, two movable full blocks matching your wall, one lever, and four redstone dust for the short control line described below. Bring about twenty ordinary solid building blocks for wiring supports and camouflage; the exact decorative quantity depends on your wall. No redstone torches, repeaters, or clock are required for this compact version.
Use stone, cobblestone, or planks for the moving blocks and wiring supports. Avoid obsidian, containers, and other special blocks: movement restrictions differ between editions, and some blocks cannot be moved at all. Do not use slime or honey blocks here, because their attachment behavior introduces unnecessary complications.
Leave two blocks of clear passage height, a side pocket two blocks wide beside the doorway, and several blocks of working space behind the wall. Keep a temporary route around the mechanism so testing cannot trap you inside.
Build the Sliding Mechanism
Step 1: Establish your reference directions. Face the wall from outside your base. The doorway will be on the right, and its sliding pocket on the left. Call the doorway column A, the immediately adjacent column to its left B, and the next column left C. All three are in the same wall plane. The two spaces above floor level are the lower and upper door positions.
Step 2: Place two sticky pistons in column C, one above the other, with both sticky faces pointing right toward B and A. Their bodies must face sideways across the wall, not toward you. If necessary, use temporary blocks to position yourself correctly while placing them.
Step 3: With the pistons unpowered, place one matching wall block against each sticky face in column B. Leave column A empty. When powered, the pistons should push these blocks one space right into A, closing the passage. When unpowered, they should pull them back into B.
Step 4: Leave the piston heads’ travel spaces unobstructed. Nothing except the two door blocks should occupy B or A at either door height. Do not attach decorative blocks to the moving blocks or put immovable blocks in their destination spaces.
Wire Both Pistons Reliably
Step 5: Go behind the wall. Place a solid support block directly behind the lower piston. Put redstone dust on top of that support. The dust now sits directly beside the upper piston, while its support block touches the lower piston. This arrangement lets the same dust power the upper piston directly and the lower piston through the support block.
Step 6: Extend that support into a straight, four-block-long row leading away from the wall, at the lower piston’s height. Place dust on all four supports. The line must run straight toward the upper piston, rather than sideways past it. Put the lever on an exposed side of the farthest support block. Leave the space above the dust clear.
Step 7: Switch the lever on. Both pistons should extend and move the door blocks into A. Switch it off; both blocks should return to B. In this circuit, power means closed. The original idea of “lever on means open” would require an inverter, such as a correctly positioned redstone torch, which this simpler build does not need.
Conceal and Validate the Entrance
Step 8: Build a fixed facade one block in front of columns B and C to hide the pocket and piston bodies. Leave A accessible. Extend that facade into the surrounding wall so the doorway looks like a deliberately recessed panel. Add a matching lintel above the opening without covering the wiring.
Step 9: Operate the door repeatedly before carrying valuables through it. Confirm that both blocks retract, the passage has two clear air blocks above its floor, and decorations do not interfere. Hide the lever in a nearby accessible niche. A painting can camouflage surrounding architecture, but do not depend on it staying attached to moving blocks or allowing convenient interaction through it.
Troubleshooting and Safe Upgrades
If only the upper piston moves, check that the first dust sits on a full solid block directly touching the lower piston. If neither moves, check the lever’s support, dust continuity, and line direction. If a block stays behind, verify that its piston is sticky and that nobody replaced the lever with a brief pulse circuit.
A longer control line may need repeaters because dust signals weaken with distance. A button is not a direct substitute here: it would briefly close the door, then leave it open. Pressure plates also need additional control logic and may respond to mobs.
If server settings prevent reliable piston movement, retain the concealed alcove but use a manually operated door. Either way, concealment is not theft protection: players can break ordinary walls. Use permitted server protection features for valuables, and skip automatic traps near your everyday entrance.
Please support us by visiting one of our partners: Amazon