Amethyst Geode Garden: Harvest Shards Without Damage
Create a safe route around the blocks that grow your crystals.
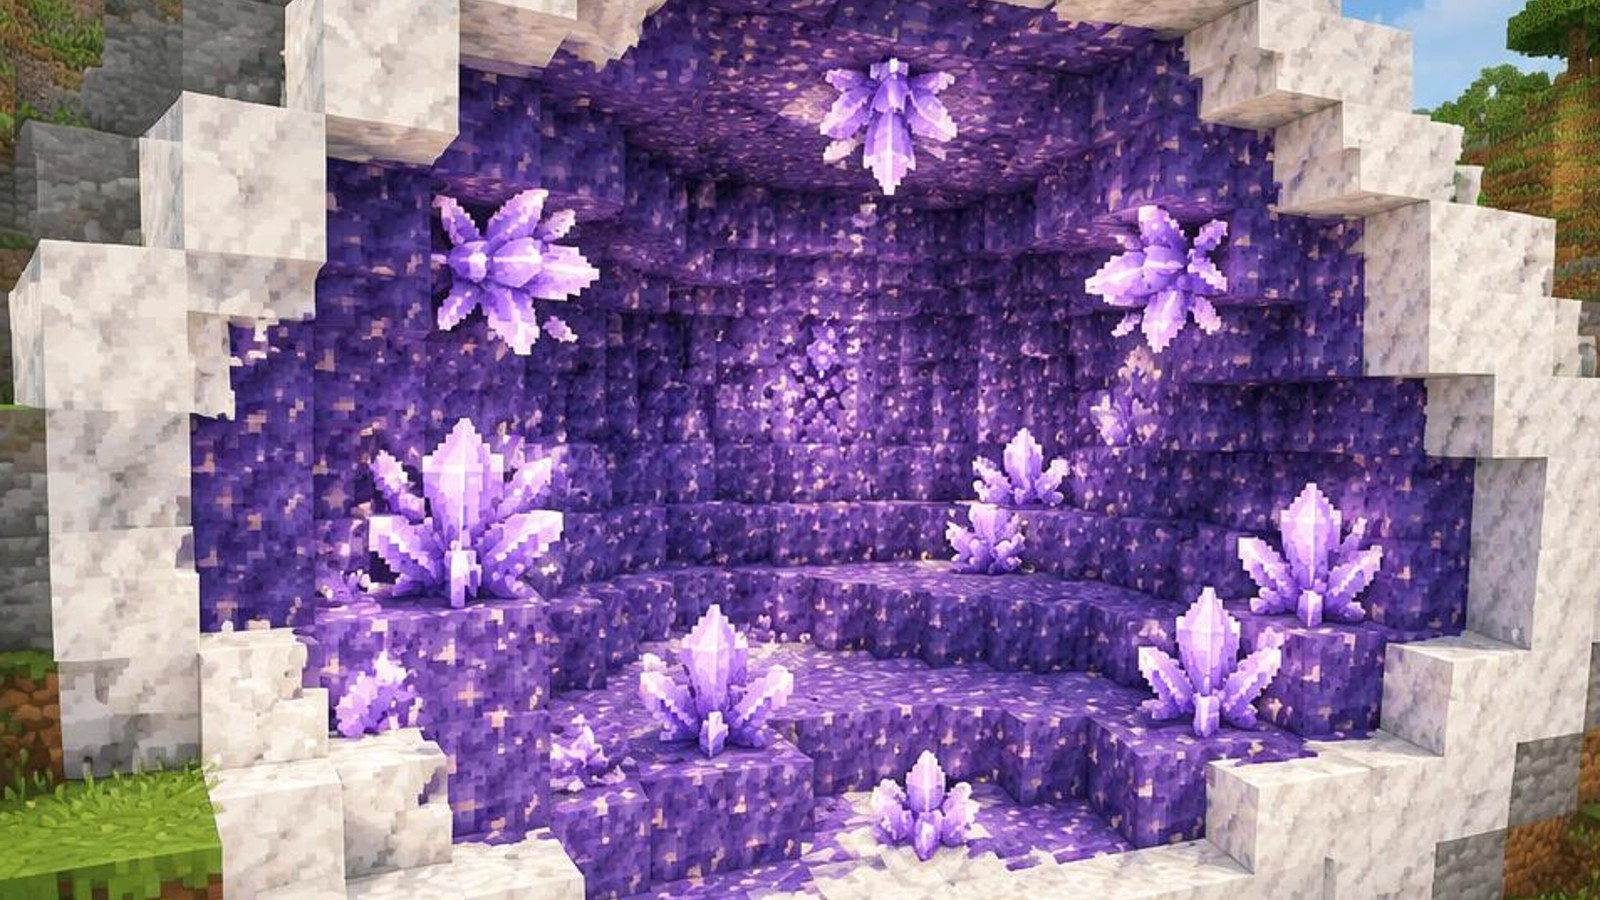
An amethyst geode garden turns a naturally generated crystal chamber into a place you can revisit without gradually destroying its growing surface. The important resource is not the purple shell or even today's clusters: it is the budding amethyst that produces future crystals. Your layout should make those blocks easy to recognize and difficult to hit accidentally.
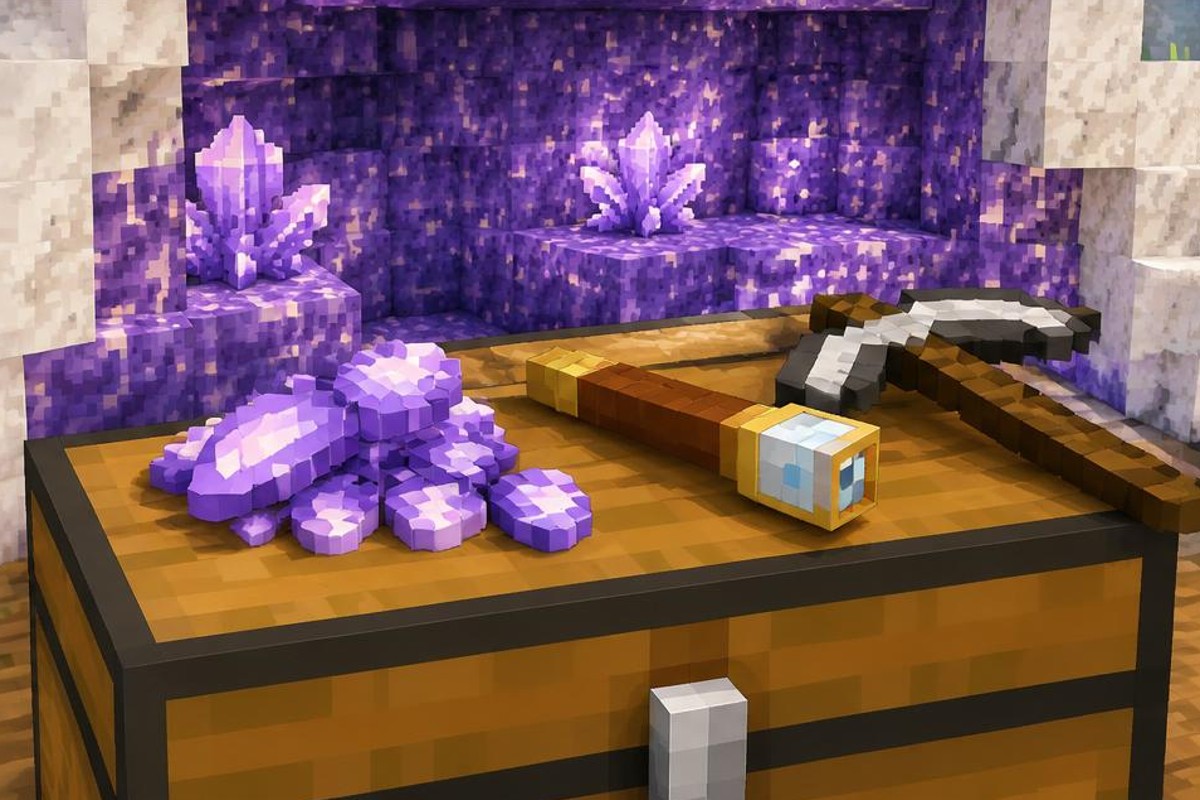
This guide uses standard, unmodified Java and Bedrock 1.21 mechanics. The accompanying voxel pictures are concept illustrations, not exact schematics or real screenshots; use the written coordinates for construction. The layout is a suggested access arrangement, not a claim of in-game validation or a guaranteed production rate.
What your amethyst geode garden will contain
You will build a small manual harvesting station inside an existing geode. Its core is a 5-by-5 platform beneath one convenient budding block, with four corner torches and a chest along one side. Other budding blocks remain part of the surrounding garden, even when they do not align neatly with this example.
The platform gives you predictable footing and a repeatable viewing angle. It does not accelerate growth. You will still wait for crystals to mature, inspect them individually, and collect the drops yourself. The design deliberately avoids pistons, moving machinery, and collection systems that might complicate access.
Divide the chamber mentally into a working area and a display area. Harvest mature clusters in the working area, but leave selected decorative clusters untouched. This prevents an attractive geode from becoming completely bare every time you need crafting materials.
Why budding blocks must stay where they generated
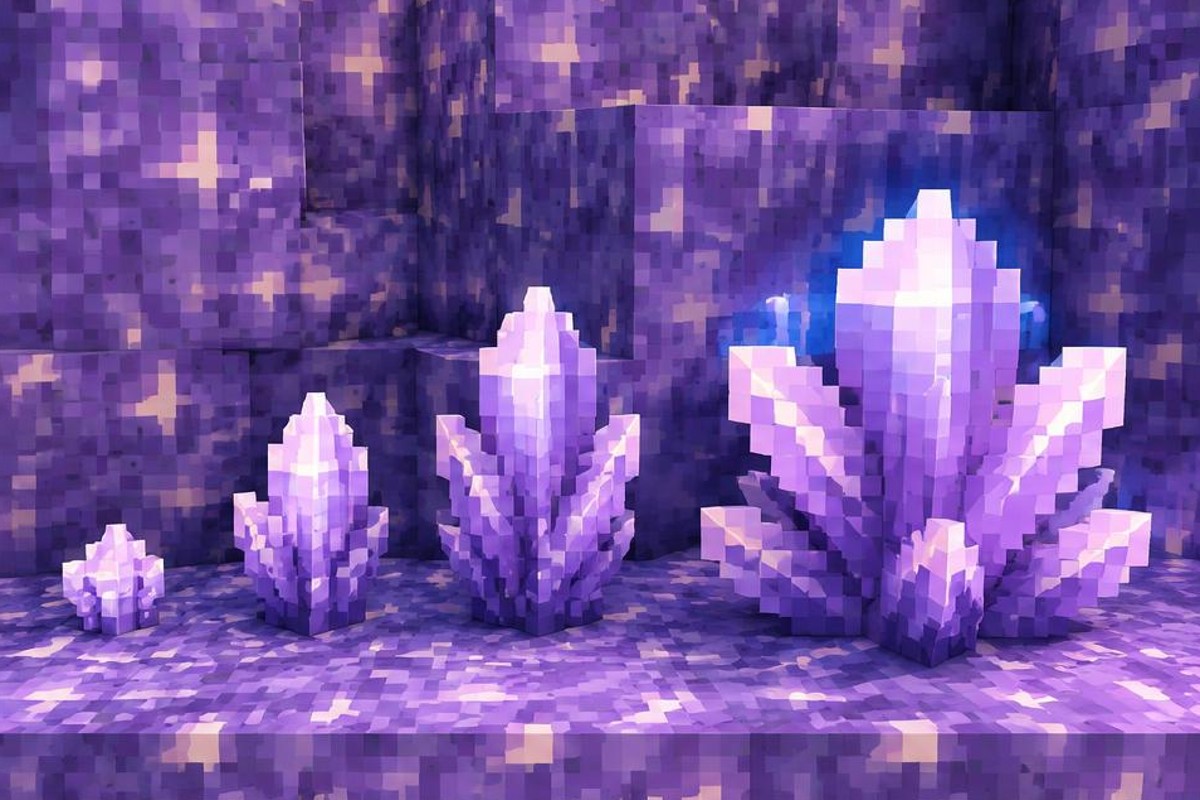
Budding amethyst is the block with cracked, cross-shaped markings on its faces. Ordinary amethyst blocks form much of the purple interior but do not grow crystals. Only naturally generated budding blocks provide the renewable growth points used by this survival garden.
You cannot collect budding amethyst, including with Silk Touch. Breaking one destroys that growth source. Pistons cannot relocate it either, so building the garden around the geode is essential. Moving ordinary amethyst blocks into a base creates decoration, not a replacement growing chamber.
A crystal progresses through four stages: small bud, medium bud, large bud, and amethyst cluster. Only the final cluster produces shards when broken without Silk Touch. New buds can form in air or water beside budding amethyst, and existing buds can advance through their stages.
These changes depend on random ticks while the area is being simulated. They do not follow a fixed seven-day schedule, and bone meal has no effect. More usable faces provide more potential growing positions, but they do not justify a precise shards-per-hour promise.
Materials for the measured example
Fixed build materials: Set aside 25 full, non-gravity building blocks, four torches, and one chest. Cobblestone is a simple platform choice. These counts cover a single-layer 5-by-5 floor, one torch above each corner, and the chest position described below. No redstone, hoppers, water buckets, or pistons are required.
Working equipment: Bring one pickaxe, food, and suitable protection for the surrounding cave. A non-Silk Touch pickaxe is the straightforward harvesting tool. Fortune is optional and increases shard yield; keep a separate Silk Touch tool only if you also want collectible buds or clusters for decoration.
Site-dependent supplies: Entrance stairs, barriers, scaffolding, extra lighting, and blocks for sealing unsafe openings are additional. Their quantities depend on the geode and are not included in the 25-block platform allowance. Likewise, no fixed number of ordinary amethyst blocks must be removed.
This is an example layout rather than a minimum requirement. An already safe natural floor may need fewer placed blocks. A difficult chamber may require a different platform shape, and preserving budding amethyst always takes priority over matching the square.
Build the access station in twelve steps
Step 1: Find an existing geode and make its entrance safe before changing the interior. Geodes have an outer smooth basalt layer, a calcite layer, and an amethyst interior, although caves can expose openings through that shell. Approach slowly enough to notice drops, water, and hostile mobs. Use extra entrance lighting from your site-dependent supplies rather than spending the four platform torches prematurely. Choose a walking route that avoids mining through visible purple blocks until you can inspect their markings. Your first task is establishing safe access, not opening the largest possible hole through the chamber.
Step 2: Survey the budding blocks from several angles. Look for their cracked, cross-shaped face patterns, and distinguish them from ordinary amethyst before touching the walls. Select one accessible budding block with space beneath and around it as the reference point for the example. Existing crystals can obscure the supporting block, so move sideways to inspect exposed faces instead of breaking everything for a better view. Note any neighboring budding blocks that would intersect a floor or access route. If the proposed platform would destroy one, choose another reference block or preserve an irregular opening in your adapted layout.
Step 3: Establish local coordinates with the chosen budding block at (0,3,0). X runs left to right, positive Z points farther into the garden, and Y increases upward. These are relative construction coordinates, not a required world location. The platform blocks will occupy Y=0, three block-coordinate levels below the reference block. Reserve X=-2 through 2 and Z=-2 through 2 for its footprint. Approach the square from negative Z, through the position just outside its middle at (0,1,-3). Check the whole volume before building, including the six positions directly beside the reference block where crystals may grow.
Step 4: Prepare the floor footprint without treating every obstruction as disposable. Remove ordinary stone, calcite, or ordinary amethyst only where necessary, checking each purple block first. Preserve budding amethyst even when it interrupts the intended square. Place exactly 25 full blocks at Y=0 if the complete footprint is clear: five rows of five spanning the stated X and Z coordinates. A natural wall can support the approach; the platform itself does not need decorative support pillars to remain in place. If bridging an opening, place blocks cautiously from an established edge and protect yourself from the drop below.
Step 5: Place torches at (-2,1,-2), (2,1,-2), (-2,1,2), and (2,1,2), each resting on a platform corner. Put the chest at (2,1,0), keeping the entrance line at X=0 clear. Leave the block above the chest unobstructed so its lid can open. These placements sit away from the reference block's six immediate growth positions. They are not a promise that the entire geode is sufficiently lit: inspect adjacent ledges and entrance tunnels separately. Keep the chest as storage rather than a stepping block, since climbing onto it changes your mining angle and can bring you closer to fragile growth sources.
Step 6: Inspect the reference block's six neighboring positions: (0,4,0), (0,2,0), (-1,3,0), (1,3,0), (0,3,-1), and (0,3,1). Each corresponds to one potential crystal-bearing face. Where safe, remove ordinary solid obstructions from these positions to expose the budding block. Do not remove another budding block simply to expose this one, and do not strip decorative crystals you intend to preserve. Existing water does not automatically disqualify a growing position, so draining it is optional rather than a growth requirement. Work one face at a time, releasing the mining button after each removal and checking exactly what your crosshair targets next.
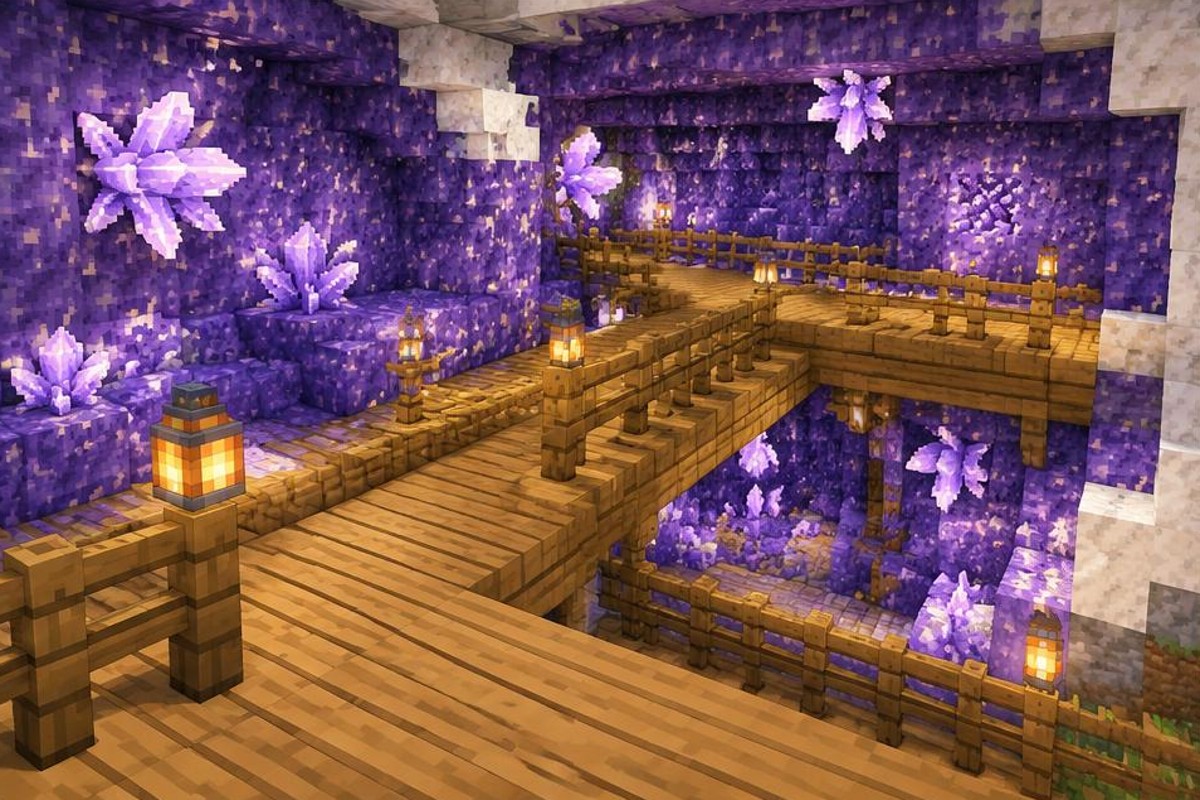
Step 7: Walk the outer part of the platform and establish comfortable viewing positions. The downward crystal position at (0,2,0) occupies the headroom beneath the reference block, so do not rely on walking through the central column. Travel around it instead. Inspect side and upper faces from oblique angles, moving your character rather than mining through the support to reach a hidden crystal. Remove only verified ordinary material if a sightline needs improvement. If another budding block remains too high or awkward, leave it alone until you can add a separate safe access point using your additional construction supplies.
Step 8: Learn the four growth stages before starting a collection round. Small, medium, and large buds all precede the mature amethyst cluster, which is visibly fuller and taller. Compare several crystals from similar distances so perspective does not trick you into treating a nearby immature bud as mature. Leave uncertain examples attached until they develop further. Decide which mature clusters belong to your permanent display area and exclude them from the harvest route. This deliberate inspection matters more than clearing the chamber quickly: breaking an immature bud yields no shards and restarts the wait for that face.
Step 9: Choose a mature cluster with a clearly visible protruding crystal and an unobstructed standing position. Equip a non-Silk Touch pickaxe, aim at the crystal itself, and break only that block. Release the mining button as soon as it breaks, because the next target may be the budding amethyst behind it. A normal pickaxe produces four shards from a mature cluster; Fortune can increase that amount. Breaking the cluster without a pickaxe produces two shards instead. Silk Touch collects the cluster item rather than loose shards, so check your enchantments before assuming that a different drop means the garden has failed.
Step 10: Collect the dropped shards and inspect the newly exposed supporting face. The budding block should remain intact, with its characteristic markings visible where the cluster stood. Walk around the platform to retrieve items that landed off to one side, but do not jump blindly into a lower cave pocket. Store the collection in the chest at (2,1,0), separating decorative cluster items if you use multiple tools. Check that nothing placed during the visit now occupies the cleared growing position. Complete this inspection after a small group of clusters rather than rushing through the entire geode with continuous mining.
Step 11: Let the garden regrow while you carry out other nearby activities within the area's simulation range. A storage nook or crafting space near the entrance can make return visits convenient, provided it does not block crystal faces. Do not use a fixed number of days as a pass-or-fail test: random growth can leave adjacent faces at different stages. During later visits, look for any newly formed bud or visible stage change as evidence that growth is occurring. If nothing changes across repeated observations, investigate simulation conditions and occupied growth positions before rebuilding a layout that may already be functioning.
Step 12: Finish by separating routine harvesting from future construction work. Keep your main travel route open, inspect the approach for dark side passages, and decide where any later staircase or viewing balcony would go. Store a Silk Touch tool separately if you frequently switch between decorative collection and shard harvesting. Before leaving, check all accessible budding blocks for accidental damage and remove temporary blocks from their neighboring growth positions. Expand only when the original station feels easy to use without risky aiming. A smaller garden with intact growing blocks is more useful over repeated visits than a larger chamber stripped of its renewable sources.
Test the layout without sacrificing growth sources
Start with a walking test rather than a mining test. Enter from negative Z, reach the chest, and circle the central headroom obstruction. Confirm that you can inspect a cluster without standing at an unprotected edge. Any hidden face can remain unharvested until its access improves.
For a harvest check, choose one clearly mature cluster and use an ordinary non-Fortune, non-Silk Touch pickaxe if you want the simplest expected result: four shards. Collect all nearby drops before counting them. Then inspect the support and revisit later to watch for growth. This checks harvesting separately from random regrowth; one short visit cannot establish a reliable production rate.
Troubleshooting common garden problems
No crystals appear on a purple block
Check whether it is ordinary amethyst rather than budding amethyst. A purple surface alone is not enough; look for the distinctive markings. Decorative amethyst blocks placed by you will never become budding blocks. Keep those blocks for appearance, but identify an actual naturally generated growth source for harvesting.
A budding face stays empty
Inspect the directly neighboring position for a torch, building block, or other obstruction. New growth needs an appropriate air or water position. If the face is clear, allow more simulated time: random growth is uneven, and an empty face beside a growing one does not by itself indicate a fault.
You collect no shards or the wrong item
Confirm both the growth stage and the tool. Immature buds do not produce shards. Silk Touch produces a collectible bud or cluster item rather than the shard result you expected. For routine collection, use a non-Silk Touch pickaxe on mature clusters, and distinguish loose shards from decorative crystal blocks in storage.
The garden stops changing while you travel
Rendered scenery is not a guarantee that blocks receive growth ticks. Distance, simulation settings, and server behavior affect whether the geode remains active. Return to the chamber and observe it across multiple visits while working nearby. Do not expect time spent far away to provide the same regrowth opportunity.
The growing block disappeared
If you mined the budding amethyst itself, that natural growth point is lost in survival. Silk Touch and pistons cannot rescue or relocate it. Continue using the remaining blocks, and change your aiming position or harvesting rhythm so that holding the mining button does not break the support behind another cluster.
Crystals are difficult to reach safely
Change your standing position before changing the geode. A side view often reveals the crystal's outline more clearly than a direct view. Add a separate platform only after checking its footprint against nearby growth faces. Leaving one awkward cluster untouched is preferable to destroying its source or falling while collecting it.
Java and Bedrock 1.21 considerations
The essential mechanics used here apply to both baseline editions: budding amethyst stays in place, crystals have four growth stages, and mature clusters provide shards. This platform has no redstone timing or piston behavior that requires an edition-specific arrangement.
Do not expect identical waiting times across different worlds. Java and Bedrock handle random ticking and simulation settings differently, and servers may use their own settings. Leave the random tick speed at the world's normal value if you want ordinary survival behavior; a tuning command is not necessary for this garden.
Aim, reach, and movement can also feel different across keyboard, controller, and touch controls. Adjust your standing positions accordingly rather than assuming every face is comfortable to harvest from one location. This guide does not assert compatibility changes beyond the stated 1.21 baseline.
Optional upgrades that preserve the garden
Dedicated display space: Reserve one wall for mature clusters you never harvest. You can also place collected decorative clusters on suitable supporting surfaces elsewhere. They remain decoration there; moving a cluster does not create another budding block or a new renewable source.
Better access: Add stairs or a second viewing ledge for distant blocks, budgeting its materials separately. Plan it around the whole collection of budding blocks, not just the reference block. Keep each intended growing position clear, including downward-facing ones above a walkway.
Improved collection habits: A Fortune pickaxe can improve shard yield from mature clusters without changing the platform. Extra storage and a sheltered nearby work area can make visits easier. None of these changes guarantees faster crystal growth, and automatic collection is deliberately outside this small manual design.
Safety around an underground growing chamber
Four corner torches describe the platform layout, not a complete cave-lighting plan. Check entrances, high shelves, and adjoining tunnels for threats. Add barriers beside drops where they will not occupy crystal-growing positions, and keep a clear exit route back to your main tunnel.
Water may support crystal growth, but moving water can carry drops away or push you toward an opening. Control hazardous flows without assuming the geode must be completely dry. Avoid explosions and casual excavation around the growing walls: replacement decorative blocks cannot restore destroyed budding amethyst.
Frequently asked questions about amethyst harvesting
Can you bring the garden back to your base?
You can bring back shards, ordinary amethyst blocks, and crystals collected with Silk Touch. You cannot bring back budding amethyst in standard survival, so a relocated decorative garden will not produce new crystals. For renewable harvesting, retain an access route to the original geode or move some of your routine activities closer to it.
What can you craft with the collected shards?
A spyglass uses one amethyst shard and two copper ingots, arranged vertically with the shard above the copper. Tinted glass uses four shards around one glass block and produces two tinted glass blocks. Keep those recipes separate when budgeting: three shards are not required for a single spyglass.
Should you harvest every mature cluster immediately?
Not necessarily. Harvesting opens that position for another growth cycle, but a cluster left for decoration remains useful as part of the garden's appearance. Decide whether each accessible face belongs to your working area or your display area. You can change that decision later without moving or damaging the underlying budding block.
A short maintenance routine for each visit
Enter with enough inventory space, confirm your pickaxe's enchantments, and inspect the walkway before mining. Collect only confidently identified mature clusters, pausing between targets. Return drops to the chest, then check that temporary construction blocks have not been left beside budding faces.
After any renovation, repeat the access test and inspect the chamber from more than one angle. The most valuable maintenance task is preserving the growing blocks, not keeping every wall tidy. An uneven natural chamber with safe routes is a perfectly good garden.
Keep the crystals renewable and the work simple
Build around naturally generated budding amethyst, preserve its usable faces, and treat harvesting as careful target selection rather than bulk excavation. The 25-block platform provides one repeatable starting arrangement, while the geode determines its final shape. With mature-cluster checks and deliberate tool use, you can collect shards without sacrificing the blocks that grow the next batch.
Further reading on the underlying mechanics
Review Budding Amethyst for growth conditions and survival limitations, then consult Amethyst Cluster for crystal stages and harvesting behavior. The Amethyst Shard page covers shard uses and crafting recipes. Check edition and version notes when applying these mechanics outside the 1.21 baseline.
Please support us by visiting one of our partners: Amazon