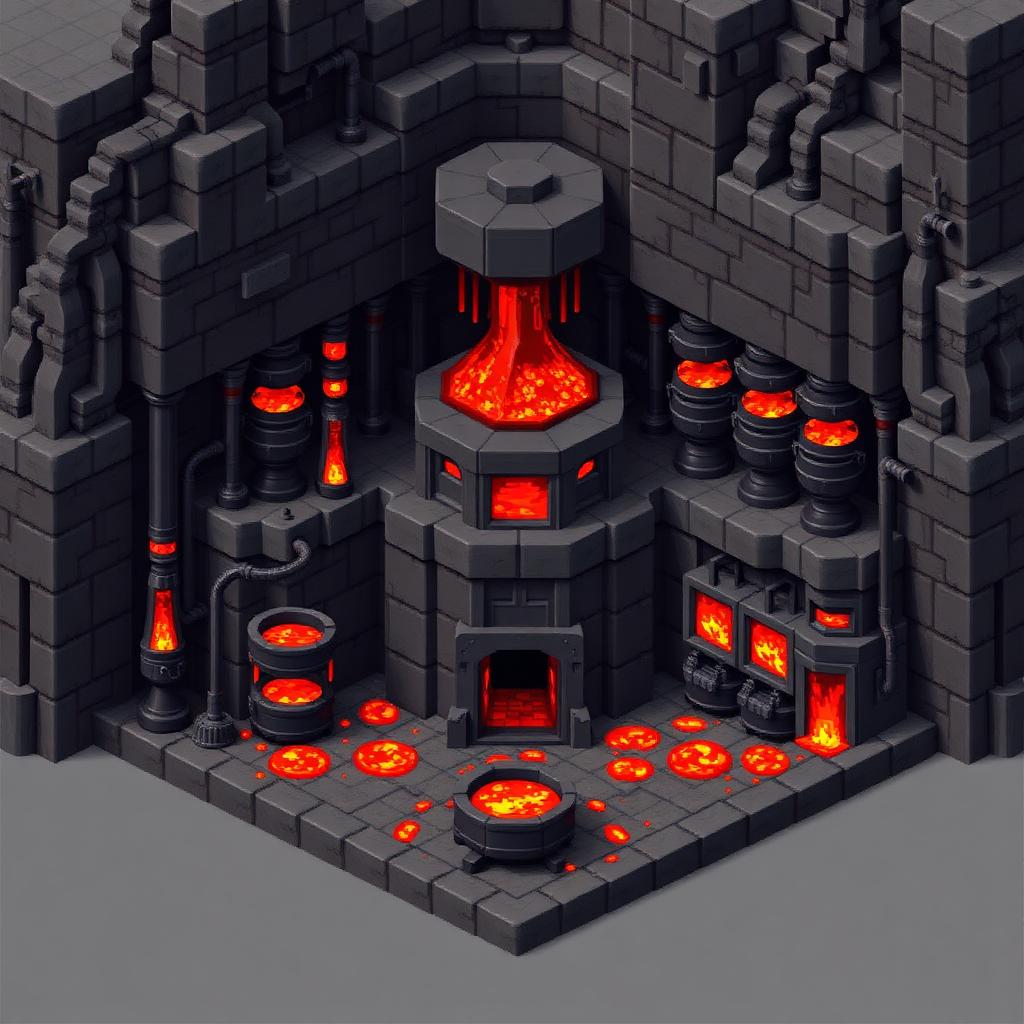
Dripstone Lava Loop Super Smelter
Introduction
What This Build Actually Automates
A dripstone lava farm provides renewable furnace fuel, while hoppers move ingredients, fuel buckets, and finished items through a furnace array. The important correction is that this is not a completely automatic lava loop in ordinary vanilla Minecraft: players must collect lava from cauldrons with empty buckets. Hoppers cannot extract that lava, and dispensers cannot bottle it from cauldrons.
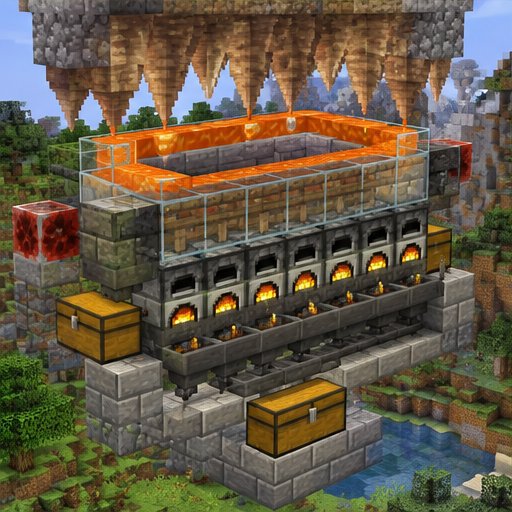
The practical design below combines eight lava-production cells with four independently supplied furnaces. Independent lanes avoid unreliable claims that a simple hopper line distributes items evenly. You can expand either section after measuring its performance in your world.
Materials and Layout
For the lava station, gather eight cauldrons, eight pointed dripstone items, eight solid nonflammable support blocks, and enough lava to place eight source blocks. Add nonflammable blocks for containment, a roof if desired, and a safe collection walkway. Twelve reusable buckets are a convenient starting supply, not a required ratio.
For four furnace lanes, use four furnaces, twelve hoppers, and twelve chests: each furnace gets one ingredient chest, one fuel chest, and one output chest, with a hopper connecting each. Leave space between single chests where necessary to prevent unwanted double-chest connections. Bring additional stone or similar building blocks and lighting.
Use regular furnaces for a mixed workshop. Blast furnaces process compatible ores, raw metals, and recyclable metal equipment; smokers process compatible foods. Neither replaces a furnace for recipes such as glass or stone. Specialized machines process compatible recipes faster, but also consume fuel faster while working.
Build and Validate the Lava Station
Step 1: Choose a nonflammable work area near where you regularly play. Build the lava station beside, rather than directly above, the furnace controls and storage. Provide a solid barrier between exposed lava and your walkway. Keep wood, wool, and other flammable materials away from the reservoir.
Step 2: Build one test cell first. Place a cauldron, leave one air block above it, place a downward-pointing pointed dripstone above that air space, and put a solid support block directly above the dripstone. The vertical order is lava source, solid block, pointed dripstone, air, cauldron. A dripstone block is optional; an ordinary suitable solid block works.
Step 3: Enclose the space above the support block with nonflammable walls, then place a lava source directly on top of that block. Do not substitute flowing lava for the source. Keep the path between the dripstone tip and cauldron clear. This short arrangement avoids relying on the maximum collection distance.
Step 4: Wait nearby and inspect the cauldron periodically. Filling is random, not a countdown, and the lava source is not consumed. A successful lava event fills the cauldron completely; it does not accumulate through the water cauldron’s three levels. Use an empty bucket on the filled cauldron to collect one lava bucket.
Step 5: Once the test works, repeat it seven times. Each cell needs its own source positioned over its support block. Add a covered collection corridor with easy access to every cauldron. More cells increase average production, but do not guarantee an uninterrupted fuel supply.
Assemble the Four Furnace Lanes
Step 6: For each lane, place an output chest and a hopper feeding into it. Put the furnace directly above that hopper. The bottom hopper extracts finished items and can also remove the empty bucket left after lava fuel is consumed. Expect both products and empty buckets in the output chest.
Step 7: Place a hopper pointing down into the furnace’s top, with an ingredient chest above it. Attach another hopper pointing into a side of the furnace, with a fuel chest above that hopper. Top access supplies ingredients; side access supplies fuel. Sneak-place hoppers against containers, and check their outlet direction before enclosing the machinery.
Step 8: Test one lane with a lava bucket in its fuel chest and a stack of cobblestone in its ingredient chest. Confirm that stone and the empty bucket reach the output chest. Then test the remaining lanes. If nothing moves, check hopper direction, chest capacity, and nearby redstone power: powered hoppers are locked.
Run the Bucket Loop Efficiently
Step 9: Collect lava manually, split filled buckets among the four fuel chests, and divide ingredients among the input chests. Lava buckets do not stack, so storage and transport fill quickly. Retrieve empty buckets from the output chests and carry them back to the cauldrons. This manual return loop is dependable across editions without elaborate item filters.
Step 10: Queue substantial batches before starting. One lava bucket provides enough burn time for 100 items in a continuously supplied compatible furnace-type machine. Burning continues even if ingredients run out or the output becomes blocked, so small batches waste much of that capacity. Keep output storage clear and build a reserve of filled buckets before large jobs.
Version Caveats and Troubleshooting
Renewable dripstone lava is available in modern Java and Bedrock versions from the 1.17 era onward. Cauldron filling relies on random ticks. Stay within the world’s active simulation area; simply keeping a chunk loaded does not universally guarantee these random ticks. Server settings and plugins can alter production or hopper behavior.
If cauldrons remain empty, recheck source placement, dripstone orientation, and clearance, then spend more active time nearby. If fuel production trails consumption, expand the lava station or run fewer lanes. On servers where this mechanic is restricted, keep the same furnace array and supply charcoal or another permitted fuel instead.
Please support us by visiting one of our partners: Amazon