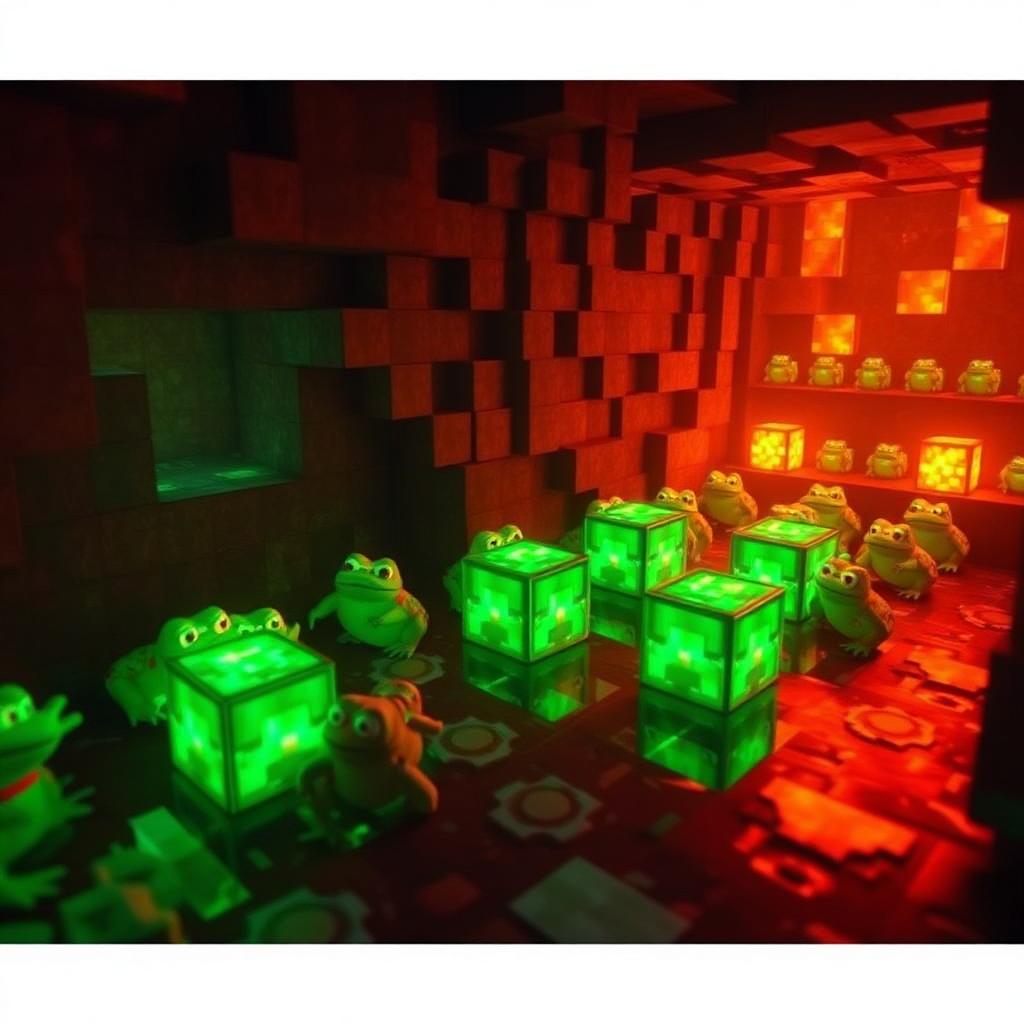
Frog Light Farm with Magma Cubes
Introduction
How the Farm Works
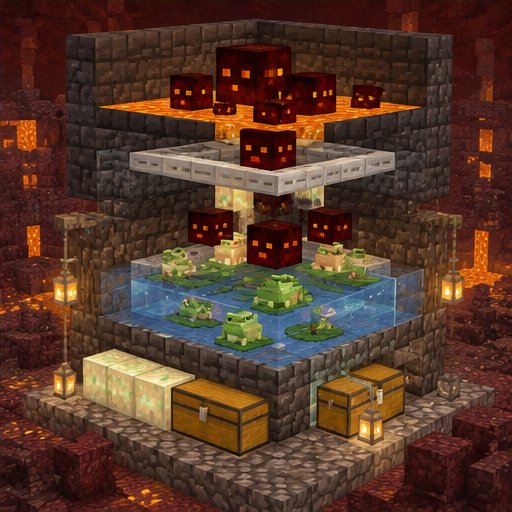
A froglight farm uses frogs to eat the smallest magma cubes. Each successful meal produces one froglight item. Larger cubes must first be killed so they split into smaller cubes; frogs cannot process those larger sizes. Build around safe separation, controlled splitting, and reliable collection rather than simply putting frogs beside a spawning area.
Frogs and froglights are available in Java and Bedrock Edition from version 1.19 onward. The conversion works in both editions, but spawning, entity movement, and automated splitting designs can differ. This guide starts with a supervised farm that you can validate before adding automation. Peaceful difficulty is unsuitable because magma cubes are hostile mobs.
Choose a Magma Cube Supply
A magma cube spawner in a treasure-room bastion remnant is a convenient fixed source. Not every bastion contains one, and spawners cannot be collected with Silk Touch in ordinary survival. Secure the bastion before transporting frogs: piglin brutes, lava, and uncontrolled cubes make construction dangerous.
A basalt delta is an alternative, but natural spawning depends on suitable spaces, player position, simulation distance, and competing mobs. Spawn-proofing a small enclosure does not concentrate every nearby spawn inside it. If you cannot safely develop a bastion, begin with a supervised processing pen and lure naturally spawned cubes into it.
Materials and Layout
Bring nonflammable building blocks, glass for observation, iron doors or another controllable entrance, buttons, chests, hoppers, leads, slimeballs, a bow, arrows, and tools. Fire Resistance potions are valuable insurance near lava. Use slimeballs to breed and lure frogs; use buckets to transport tadpoles.
Make separate spaces for cube processing, frog holding, and player access. As a manageable starter size, a 3-by-3 eating floor requires nine hoppers for complete exposed-floor collection. Connect their outputs to a chest, and add enough blocks to enclose the floor, walls, and roof. This is a processing cell, not a spawning platform: keep the spawning or intake space separate.
Do not place ordinary full blocks over these hoppers and expect them to collect items through the blocks. A hopper-minecart collection layer is an alternative, but test its pickup coverage and unloading separately before relying on it.
Step-by-Step Construction
Step 1: Obtain the frog colors you want. Temperate orange frogs produce ochre froglights, cold green frogs produce verdant froglights, and warm white frogs produce pearlescent froglights. The frog’s variant is determined by the biome where its tadpole becomes an adult, not by its parents or its current location. Use a clearly suitable biome, such as plains, snowy plains, or desert, and check the resulting adult before transport.
Step 2: Breed frogs with slimeballs beside accessible water, then collect the hatched tadpoles in buckets. Raise them in protected Overworld pools in the chosen biomes. Tadpoles need water; adult frogs do not need water in their working enclosure. Transport adults through a secured Nether portal route using leads or slimeballs. Do not attempt a normal water nursery in the Nether, where placed water evaporates.
Step 3: Secure the source before building the intake. With a spawner, staying outside its normal 16-block activation range lets you work without activating it, although existing mobs remain dangerous. Torches are not a dependable magma cube spawner shutoff. Establish a protected retreat and clear existing threats before approaching. Do not break the spawner unless you intend to lose it permanently.
Step 4: Build a fully enclosed processing cell with a roof and a separate, solid-walled frog holding compartment. Frogs jump surprisingly high, so an open fence pen is insufficient. Give yourself an observation window and a protected shooting position. Keep lava, open drops, and damaging blocks out of every area the frogs can reach. Use an entrance arrangement that lets you close the cell before processing begins.
Step 5: Admit a small batch of cubes while the frog stays behind its solid partition. Close the intake, then use individually aimed bow shots to kill large and medium cubes until only the smallest remain. Watch after every kill because splitting creates additional targets. Avoid indiscriminate attacks: Java sword sweeping can strike nearby entities, and arrows can also kill the small cubes you wanted to preserve.
Step 6: Stop attacking and release one frog only after confirming that no larger cubes remain. Let it reach the small cubes on the collection floor. Frogs need accessible targets; cubes behind corners, barriers, or inaccessible ledges may remain uneaten. Check that a froglight reaches the chest, then return the frog to its holding compartment before admitting another batch.
Testing, Troubleshooting, and Expansion
Validate the cell first with one frog and one small cube. If you want to experiment with automation, use a separate Creative copy rather than risking your survival animals. Automated splitters involving iron golems, powdered snow, or timed movement require a design matched to your edition and version. Keep the supervised bow method as the fallback.
If cubes accumulate, stop the intake and check their sizes and access to frogs. If frogs disappear, inspect for combat damage, lava access, escape gaps, and portal access. If drops remain on the floor, check hopper direction, redstone locking, and chest capacity. Extra storage provides a buffer, not unlimited overflow protection.
Light player corridors for visibility, but do not assume lighting prevents magma cube spawning. Use appropriate spawn-proof surfaces outside designated spawning spaces, and test them in your edition. On servers, entity limits or modified spawner behavior may reduce performance. Expand only after repeated small batches complete safely; keep variants in separate cells if you want clearly separated color storage.
Please support us by visiting one of our partners: Amazon