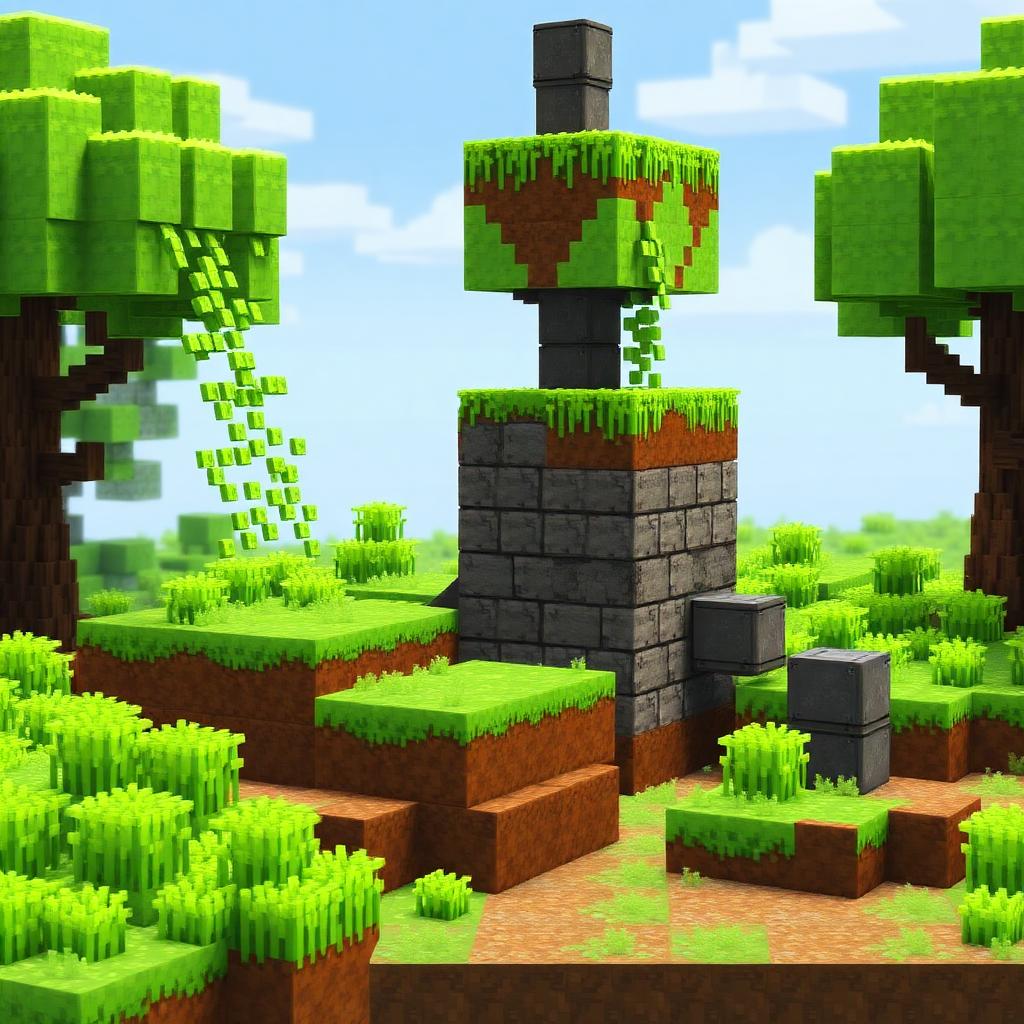
Moss Farm and Stone Converter
Introduction
Introduction
A moss farm converts suitable blocks into moss when you apply bone meal to an existing moss block. Pairing it with a renewable stone supply reduces mining, but the conversion bed, stone generator, and collection system are separate mechanisms. Start with a small manual bed, validate its behavior, and automate only the parts you need. This approach is survival-friendly and avoids unnecessary piston clocks and item buildup.

How It Works
Bone-mealing moss attempts to spread it across nearby eligible terrain and can grow moss carpets, grass, and azaleas above it. Stone is a useful renewable input. Cobblestone is not a substitute: a cobblestone generator must either be redesigned to produce stone or feed a smelting process before its output can be converted.
On a flat bed, moss spreading can reach within a 7-by-7 horizontal area centered on the fertilized block, but an application does not guarantee complete coverage. Keep the conversion surface exposed, with air above it. This is block conversion and plant growth, not mob spawning; spawning controls have no role in the farm.
Moss arrived in Java and Bedrock Edition 1.17. The basic manual method works in both editions, but piston behavior, redstone timing, and automated layouts are not interchangeable. Use an automation design explicitly intended for your edition and release.
Materials and Layout
For a simple 7-by-7 test bed, prepare one moss block and 48 stone blocks. Bring bone meal, a hoe, a chest, and solid blocks for a walkway. A supporting floor is helpful because harvesting removes the conversion layer. Use a material moss cannot convert, such as glass, beneath the bed rather than another exposed stone layer.
For renewable stone, add a water bucket, a lava bucket, nonflammable containment blocks, and a pickaxe. Silk Touch is needed if you want to mine generated stone and place it directly in the bed. Without Silk Touch, mine cobblestone and smelt it into stone. A furnace and fuel make this slower but straightforward.
Observers, pistons, hoppers, and dispensers belong to the optional automation stage. They are not required for the starter farm. Save these resources until you have verified conversion and decided whether you want moss blocks, vegetation, or compostable output.
Step-by-Step Construction
Step 1: Build a supporting platform and place the 7-by-7 conversion layer on top, with moss in the center and stone in the other 48 positions. Leave clear space above it. Add a walkway outside the bed so you can reach the center without placing obstructions over the growing surface.
Step 2: Mark the center seed position with a contrasting support block underneath. Apply one bone meal directly to that moss and inspect the result. Some stone may remain unchanged. Apply additional bone meal as needed, observing which positions convert rather than assuming one use fills the bed.
Step 3: Remove vegetation, then harvest the converted moss with a hoe. Leave the central moss block in place. Refill harvested spaces with stone and repeat. If you accidentally remove the seed, replace it before fertilizing; bone meal cannot initiate this conversion by targeting ordinary stone.
Step 4: Build a separate, enclosed stone-generator test cell. The key interaction is lava flowing downward into water to form stone; water meeting flowing lava in other arrangements commonly produces cobblestone. Contain both fluids, keep the lava source away from accidental water contact, and provide a safe mining opening. Do not connect it to the moss bed yet.
Step 5: Mine several generated blocks from a protected position. Confirm that the cell repeatedly produces stone, that water refills the contact position, and that neither fluid escapes when the block is removed. Collect stone with Silk Touch, or smelt the cobblestone dropped by ordinary mining. If the cell produces cobblestone directly, correct the fluid arrangement or keep it as a cobblestone supply for smelting.
Step 6: Store harvested moss in a chest beside the walkway. For vegetation collection, an optional temporary water flush can carry drops toward a hopper feeding a chest. Test drainage first and remove water before fertilizing again. Water breaks many surface plants, but it does not harvest moss blocks; those still need a hoe or a separately validated mechanism.
Automation Without Unnecessary Complexity
A dispenser facing the seed moss can apply bone meal. Trigger it manually first. For larger builds, generated stone can be pushed toward a conversion area, but ordinary pistons have a 12-block push limit, and the machine must clear harvested material before refilling. Do not assume a piston conveyor also collects moss.
Observers detect block changes, not whether a harvest cycle succeeded. Uncontrolled feedback can waste bone meal or jam a feed line. Add an accessible shutoff and test individual pulses before using a clock. Keep tightly coupled components together; chunk alignment alone does not keep anything ticking. Java offers a chunk-border display, while Bedrock has no equivalent standard overlay. Stop and drain the mechanism before leaving its simulation range.
Troubleshooting and Safe Validation
If moss does not spread, check that you targeted moss, supplied eligible blocks rather than cobblestone, and left the surface unobstructed. If storage stays empty, remember that hoppers collect item entities, not intact moss blocks. If lava turns into obsidian, water has contacted a lava source; isolate the fluids before rebuilding.
Composting spare moss and vegetation can recover some bone meal, but this small manual setup is not guaranteed to sustain itself. Keep a reserve. On servers with altered growth, hopper, or redstone settings, retain the manual bed and separate stone supply as the dependable fallback rather than forcing an incompatible automatic design.
Please support us by visiting one of our partners: Amazon