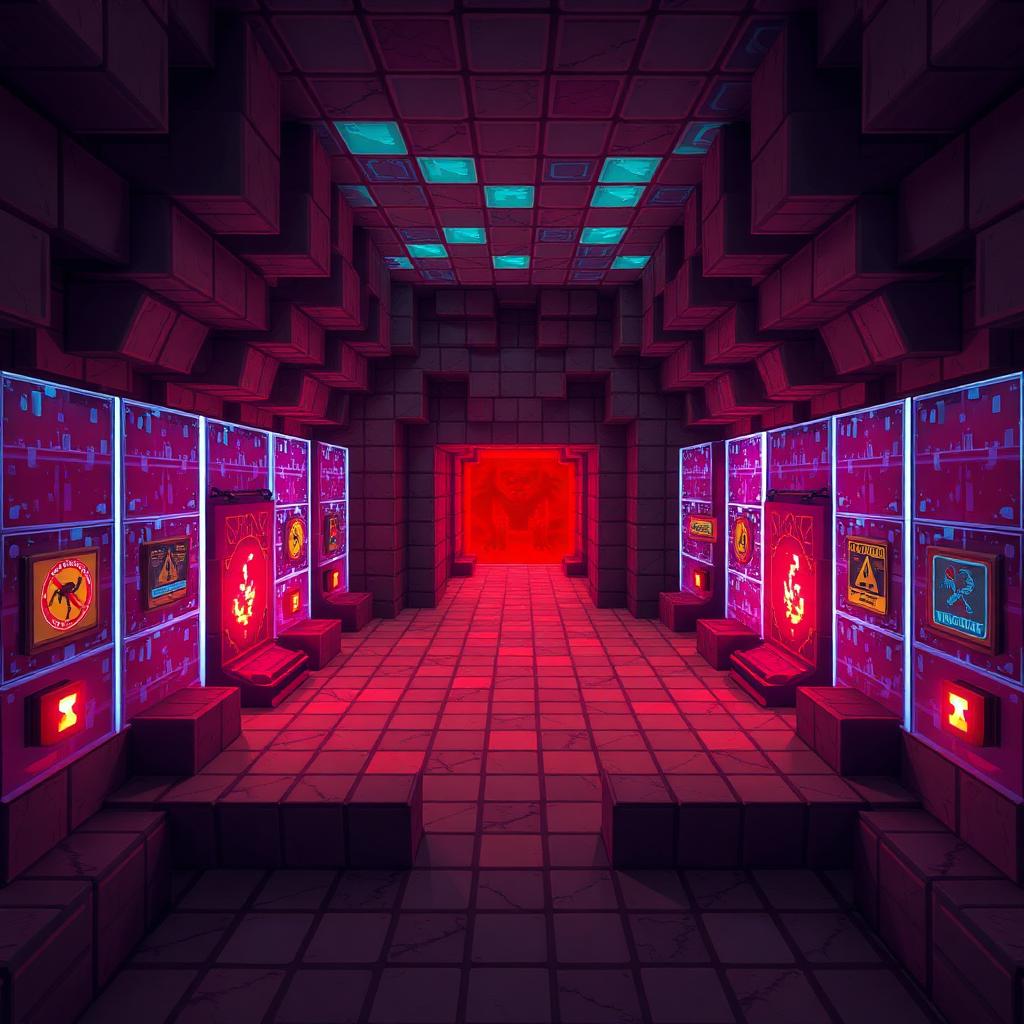
Nether Hub Etiquette and Safety
Introduction
Purpose and Planning
A shared Nether hub should make travel predictable without exposing players to lava, hostile mobs, or somebody else’s unfinished tunnel. Good etiquette is part of the design: every route needs an owner, readable directions, and a safe arrival point. Agree on portal positions and lane rules before excavating. Moving a portal without warning can disrupt another player’s return journey even when the new location looks convenient.

Materials and Mechanical Limits
Choose Protection Before Decoration
Use cobblestone, stone bricks, or another confirmed ghast-fireball-resistant block for the outer walls, roof, and floor. Netherrack is easy to excavate but poor protective construction. Glass provides visibility and blocks movement, but ordinary glass is vulnerable to explosions: a glass tunnel alone is not ghast-proof. Put viewing windows behind a protective outer barrier or reserve them for already enclosed areas.
Bring signs, nonflammable building blocks, bottom slabs, lighting, food, a pickaxe, flint and steel, and spare obsidian. A minimum rectangular portal frame requires 10 obsidian when its corners are omitted. Carrying that much permits an emergency frame, but does not guarantee a useful portal link. Fire Resistance potions are sensible backup near lava; they do not prevent fall damage or make an exposed worksite safe.
Ice Roads and Coordinates
Packed ice and blue ice do not melt under ordinary lighting; regular ice can melt near sufficient block light. Boats slide quickly on packed ice, and faster on blue ice. Packed ice is usually the more economical starting choice. Boat handling and collisions differ between Java and Bedrock and can be affected by server lag, so prototype the actual lane before committing to a long route.
For ordinary Overworld–Nether travel, divide Overworld X and Z coordinates by eight to estimate the corresponding Nether location; multiply by eight for the reverse direction. Y is not scaled. Portal selection also depends on nearby eligible portals and their positions, including height, so coordinate conversion is a planning tool, not a promise of a dedicated link.
Step-by-Step Construction
Step 1: Agree on a hub standard. Record the Minecraft edition, server version, hub elevation, naming scheme, and person responsible for each branch. Reserve space for future portals. Require permission before moving frames, digging through walls, or connecting private routes. Set a travel direction for shared roads and prohibit parking in junctions.
Step 2: Survey and secure the initial chamber. Begin from an existing portal and mark the way back before expanding. Excavate small sections rather than opening a long face into unknown lava. Keep solid blocks on your hotbar to plug leaks, and never mine directly beneath your feet. Enclose the work area with a durable shell before installing windows or decorative trim.
Step 3: Provide safe portal landings. Build a level, enclosed platform on both sides of each portal, with no adjacent drop or boat lane. Leave room for arriving players to step aside. Keep the portal chamber separate from high-speed traffic; entities can travel through portals, so an enclosed hub still needs inspection for unexpected visitors.
Step 4: Verify links before publishing signs. Record both portal coordinates, then travel through in both directions with valuables stored safely. If the return trip reaches another player’s portal, stop and coordinate a correction. Moving the intended frame closer to its scaled destination may help, but inspect nearby portals and height differences first. Never break somebody else’s frame simply to force your own link.
Step 5: Build the transport corridor. Start with a straight test section offering three clear blocks of width for a single boat lane. Keep supports, signs, chests, and other obstacles out of that clearance. Provide enough headroom to mount, ride, and dismount comfortably, then test it with your actual boat setup. Three blocks is a practical starting width, not a guarantee of safe two-way passing. Use separate lanes or passing bays on busy routes.
Step 6: Install safe stops. Place boarding areas outside the through-lane, and end roads in roomy enclosed stopping bays rather than at portals or exposed cliffs. Test low-speed approaches first. Add pedestrian access alongside major routes where practical, separated from boats so walkers do not become unexpected obstacles.
Step 7: Spawn-proof and label. Use bottom slabs or other verified nonspawnable surfaces on pedestrian areas, ledges, and accessible roof sections. Do not assume lighting alone prevents Nether mobs: spawning conditions vary by mob, edition, and location, especially around structures. Avoid leaving large open cavities inside the protective shell. Label every junction with destination, direction, owner, and coordinates; repeat signs after turns.
Validation, Maintenance, and Alternatives
Test the design in a creative copy where available, then validate the real survival route without valuable cargo. Check portal returns, boat collisions, dismount locations, and stopping distance under normal server conditions. A copy may not reproduce multiplayer lag or server plugins. If boats catch on walls, widen bends and remove protrusions; if traffic remains unreliable, replace that section with a protected walking corridor or a conventional minecart line.
Label shared supplies separately from private storage. Provide a boat-return chest and request that travelers retrieve abandoned boats rather than leave them in lanes. If automated collection is added, give excess items a clearly labeled overflow chest and inspect it regularly; automation does not create unlimited capacity.
Keep a repair chest with building blocks and flint and steel, and mark damaged branches closed until repaired. Avoid making the hub depend on Nether-roof access: Java roof routes depend on access methods and server rules, while normal Bedrock building limits prevent the equivalent roof construction. A fully enclosed hub below the roof is the broadly practical alternative.
Please support us by visiting one of our partners: Amazon