
Rabbit Nursery: Build a Secure Pen and Breed Rabbits
Keep your rabbits behind solid walls and breed them at your own pace.
A rabbit nursery gives you somewhere predictable to keep adults, raise babies, and practice careful animal handling. This design prioritizes containment over decoration: solid walls, an uninterrupted roof, and a small entrance compartment let you separate the outside world from the rabbits before opening the next door.
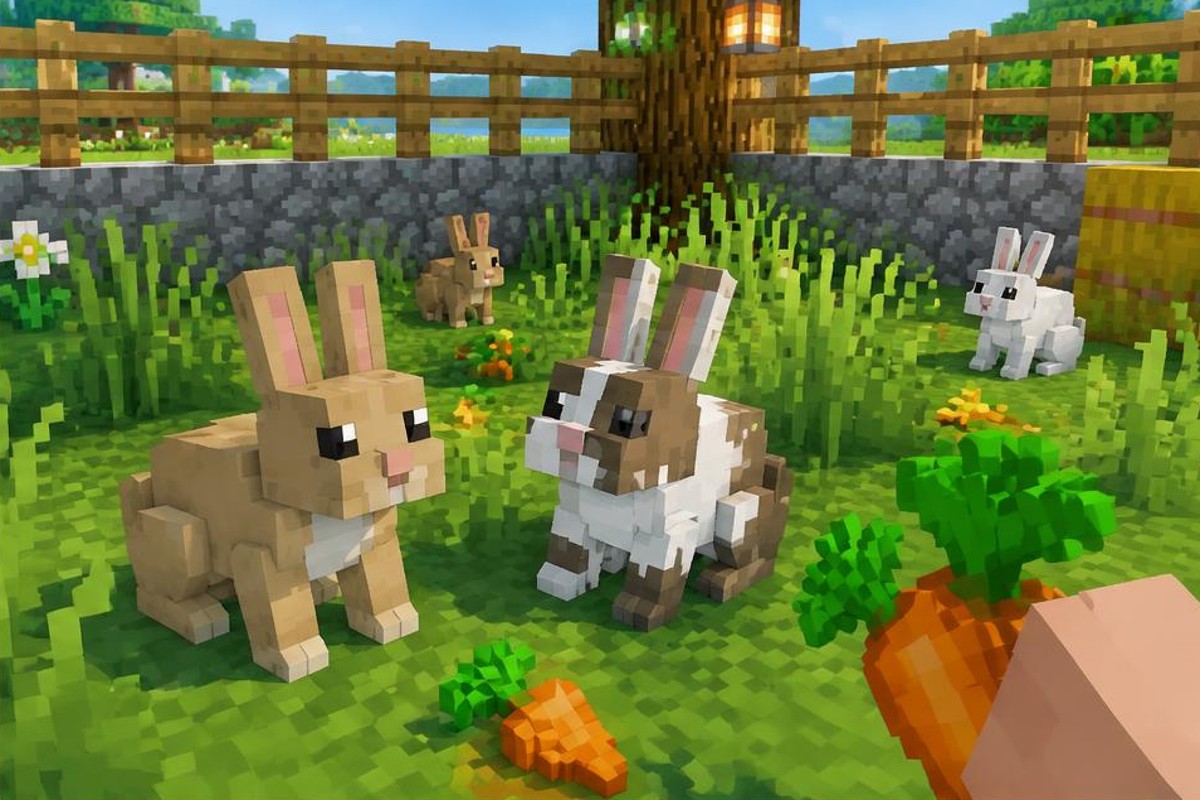
The instructions use standard, unmodified Java and Bedrock 1.21 mechanics as their baseline, not assumed changes in later releases. This is a proposed construction plan, not a claim of in-game validation. The pictures are original voxel concept illustrations, not exact schematics or real screenshots; always build from the written measurements rather than their pictured geometry.
What your rabbit nursery will contain
The main building occupies a 7-by-7 footprint, with a 5-by-5 usable grass floor inside. Its perimeter rises two full blocks above the ground, and a full-block roof covers the whole structure. A centered entrance projects another three blocks south, giving the complete example a maximum footprint of seven blocks wide by ten blocks long.
The entrance is a narrow, covered holding compartment between two manually operated wooden doors. It is not an automatic animal sorter or a guarantee against careless operation. Its purpose is to let you close one barrier before opening another, including when you bring the founding adults inside.
Start with two adults and observe the first baby before expanding your group. The floor area is a practical example, not a minimum biological requirement or a claim about how many rabbits you should pack into one space.
Why the walls, roof, and feeding routine work
Rabbits move by hopping and can be awkward to manage around uneven ground. This design does not rely on a single fence or on estimating a safe jump height. Two-block-high solid walls and a complete roof form a continuous enclosure; your main containment risk becomes an open doorway or an accidental construction gap.
Rabbits are not tameable. Carrots, golden carrots, and dandelions attract them and serve as breeding food. Golden carrots do not unlock taming, ownership, sitting commands, or permanent following. For a simple nursery, ordinary carrots are convenient because you can grow replacement food nearby.
Two eligible adults must receive food and get close enough to breed. A successful pair has a breeding cooldown of approximately five minutes. Babies normally take about 20 minutes to become adults, and suitable food accelerates their growth. These are game-time processes, not a promise that rabbits will mature while their area is unloaded. Keep the nursery in an actively simulated area when observing a cycle.
Materials for this exact example
Structure: Gather 116 full cobblestone blocks: 46 for the main walls, 12 for the entrance side walls, 49 for the main roof, and nine for the entrance roof. Bring two wooden doors and three torches. These quantities assume an existing, flat ground surface; fill blocks, access scaffolding, exterior lighting, and landscaping are additional.
Animals and supplies: Locate two adult rabbits and bring about 16 carrots as a convenient starting reserve, not a requirement for one birth. Two carrots cover one successful pairing when each adult receives one. Carry a pickaxe and some dirt for corrections. You do not need redstone, hoppers, breeding machinery, or killing equipment.
Crafting wooden doors produces three from six matching planks, so retain the spare. A normal torch recipe produces four, leaving one extra. An optional exterior garden needs its own seeds or carrots, hoe, water bucket, boundary, and ground; none are included in the 116-block total.
Read the coordinate plan before placing blocks
Use local coordinates rather than your world's absolute numbers. Let east increase x, south increase z, and let the top surface of the existing ground be the standing surface above blocks at y=0. The room's empty space occupies y=1 and y=2; roof blocks sit at y=3.
The main footprint runs from x=0 through 6 and z=0 through 6, inclusive. Its interior is x=1 through 5 and z=1 through 5. The entrance extension occupies x=2 through 4 and z=7 through 9. Its doors stand at x=3, z=6 and x=3, z=9, each filling y=1 and y=2.
These labels describe placement, not commands you must enter. Mark the corners temporarily if that helps, but remove markers from the finished interior.
Build and populate the nursery in 12 steps
Step 1: Choose a flat site near the rabbits you intend to move, rather than planning a long journey through forests or cliffs. Clear the main x=0..6, z=0..6 square and the entrance x=2..4, z=7..9 extension. Keep ground blocks at y=0 throughout both areas. Remove tall grass, snow layers, loose blocks, and holes that would obscure the floor or complicate movement. Leave an open approach beyond z=9 so you can lead a rabbit toward the outer doorway without turning sharply. Survey nearby drops and hostile animals before committing materials; a safer location saves more effort than elaborate transport later.
Step 2: Place the lower main-wall course at y=1. Fill x=0..6 along z=0 and z=6, then fill z=1..5 along x=0 and x=6. Those coordinates describe a 24-block perimeter without counting the corners twice. Omit x=3, z=6 for the doorway, leaving 23 blocks in this course. Check that the enclosed floor is exactly five blocks wide and five blocks deep. Do not replace the solid boundary with fences, open trapdoors, or decorative gaps. Walk around the outside and confirm every perimeter position except the intended entrance contains a full block before you add the next course.
Step 3: Repeat the same perimeter at y=2, again leaving x=3, z=6 empty. You now have 46 main-wall blocks and a doorway two blocks tall. Keep the interior at x=1..5, z=1..5 completely clear at both y=1 and y=2. Check the corners carefully, since an attractive-looking staggered corner is not the same as a continuous wall. If you used dirt to reach the upper course, remove any temporary interior step now. This simple open floor makes rabbits easier to see and avoids creating furniture-like platforms that interfere with handling. Save decoration until the basic nursery passes its checks.
Step 4: Construct the entrance side walls at x=2 and x=4, using z=7, 8, and 9 on both sides. Fill each of those six positions at y=1 and y=2, for 12 additional full blocks. Leave x=3 clear between the walls. The future outer door occupies z=9; the holding space between the two doors consists of x=3, z=7 and z=8. This is deliberately compact, so plan to move one rabbit at a time. Check that both side walls meet the main south wall without a diagonal opening. Avoid attaching a garden gate or another animal enclosure directly to this compartment.
Step 5: Fit a wooden door at x=3, z=6 and another at x=3, z=9, placing each on the ground so it spans y=1 and y=2. Align the closed doors across the north-south passage. Hinge direction is not essential, but inspect the open position to ensure you can comfortably pass. Practice entering, closing the outer door, and then opening the inner door before any rabbits arrive. Do not add pressure plates: a player or another entity could activate them when you need a barrier closed. Manual operation makes the entrance's condition obvious and keeps the procedure under your control.
Step 6: Cover x=0..6, z=0..6 at y=3 with 49 full blocks, including the blocks above the walls. Add nine more roof blocks across x=2..4, z=7..9 at y=3. The two roof sections now form an uninterrupted cover over the room and entrance. Their combined count is 58, bringing the full-block structure total to 116. Work from outside with temporary access blocks as needed, then remove the access route. Look upward from every part of the interior for missing squares. Do not lower roof sections to y=2, because the design depends on two clear blocks above the ground for your movement.
Step 7: Mount two torches inside the main room: one at x=1, y=2, z=2 attached to the western wall, and one at x=5, y=2, z=4 attached to the eastern wall. Put the third at x=3, y=2, z=7, attached to an entrance side wall. These locations keep the floor unobstructed and make the small covered spaces visible. Inspect the room after dark, and separately light your outside approach where necessary. Exterior lighting is extra material, not part of the three-torch interior count. Finish by closing both doors and checking that no construction block remains inside the holding compartment.
Step 8: Find the first adult rabbit and hold a carrot, golden carrot, or dandelion. Approach calmly and move a short distance at a time, letting the rabbit follow instead of sprinting away. Keep the inner nursery door closed and open only the outer door. Stand toward the inner end of the holding compartment to draw the rabbit fully inside. Close the outer door once its body is clear of the threshold. If it hesitates or crowds your position, pause and reposition rather than repeatedly opening both doors. Food attraction is a handling aid, not an invisible leash or a reliable teleportation system.
Step 9: With the outer door closed, open the inner door and move into the main room while still holding the lure. Wait until the rabbit has crossed completely, then close the inner door. To leave, enter the compartment, close the inner door behind you, and only then open the outer door. Repeat that whole sequence for the second adult. Switch away from food when you do not want the first rabbit following you toward the entrance. If it slips into the compartment during your exit, guide it back inside while the outer door stays closed; never solve the problem by exposing both openings.
Step 10: Once both adults are inside, close both doors and feed each one a carrot, golden carrot, or dandelion. Watch for the heart particles that indicate breeding readiness, then give the pair room to approach each other. Do not stand in their path or rapidly feed every rabbit you see. A successful pairing produces a baby without requiring a nest, bed, crop patch, or special floor block. If nothing happens, check that both rabbits are adults and neither is still cooling down from an earlier birth. Keep unused food selected only when you need attraction, then switch items to observe them more easily.
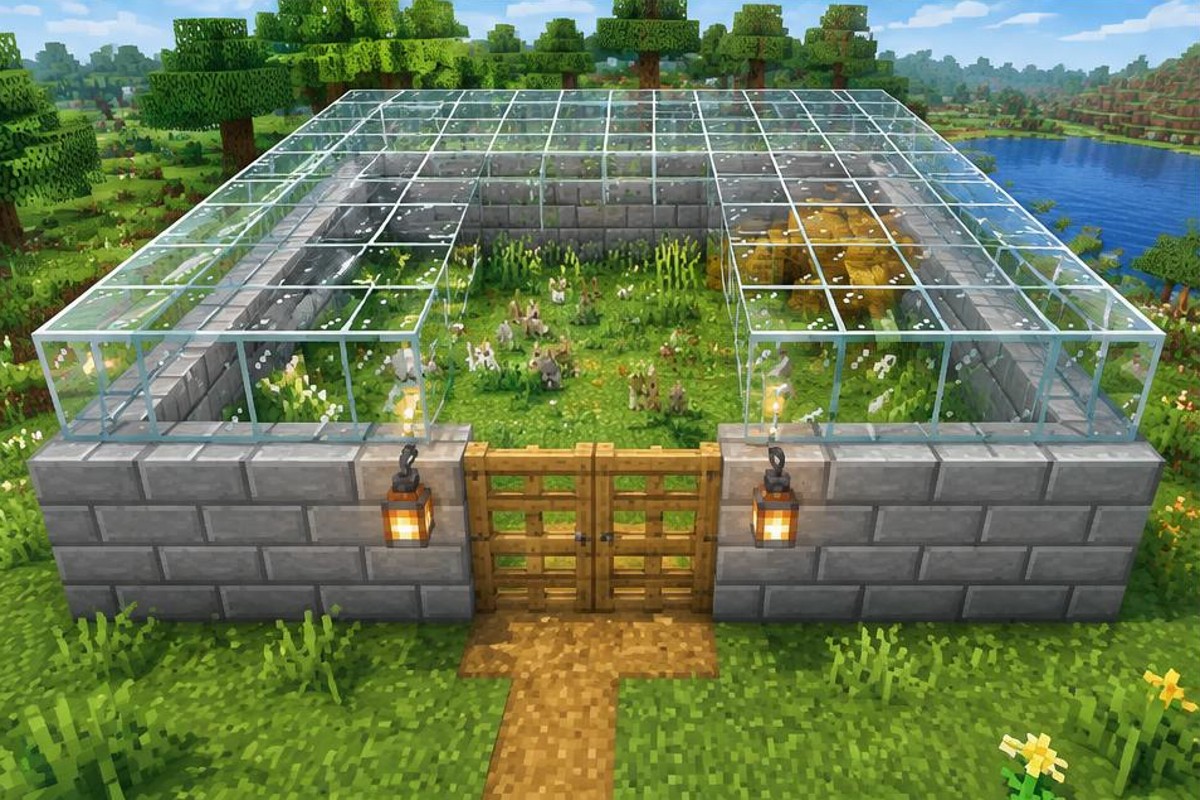
Step 11: Observe the baby in the open central floor area and note when the birth occurred. Allow approximately five minutes before expecting the same parents to breed again. Expect roughly 20 minutes for normal baby maturation while the area remains actively simulated, rather than treating real-world time away from the nursery as a dependable timer. You may feed suitable food to the baby to accelerate growth, but doing so consumes supplies and is optional. Keep your aim deliberate so you feed the intended animal. There is no need to rush the first generation; watching one cycle helps you understand the routine before adding more rabbits.
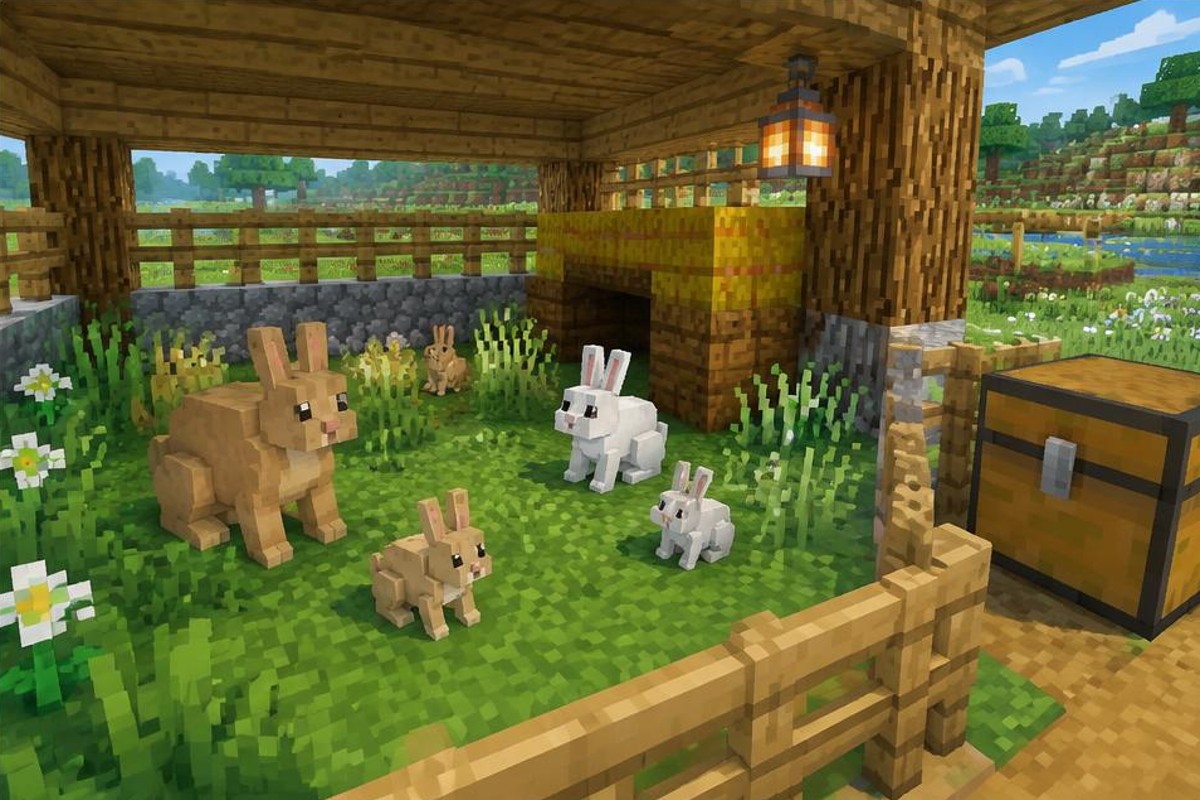
Step 12: Finish the nursery's operating area rather than immediately starting another breeding cycle. Remove temporary exterior pillars, repair holes along the approach, and store food where you can collect it before opening a door. If you want a carrot garden, place it outside the nursery and away from the entrance traffic lane. Give that garden its own protective boundary instead of making crops part of the rabbit floor. Perform one complete entry and exit with empty hands, confirming that one door remains closed throughout. Finally, decide when you will expand or stop breeding; the finished starter enclosure is not an invitation to accumulate animals indefinitely.
Test the enclosure before relying on it
Inspect the whole perimeter from both sides, then inspect the roof from outside and below. Your checklist is physical: no missing wall blocks, no unfinished roof edge, no exposed side of the entrance, and no forgotten construction opening. Verify the door positions against the coordinates rather than against the illustrations.
During the first occupied visit, test the entrance with one rabbit nearby and no food in your hand. If the rabbit enters the holding compartment, leave the outside door closed and return it to the room. This demonstrates the intended recovery procedure without deliberately releasing an animal. Successful containment on one visit does not replace checking doors on later visits.
Troubleshoot six common problems
The rabbit stops following you
Check that you are holding a carrot, golden carrot, or dandelion and have not moved too far ahead. Return gradually, restore a clear path, and wait for the rabbit to approach. Uneven terrain and nearby threats can disrupt handling. Short, quiet movements are more useful than trying to outrun the animal to your destination.
A rabbit reaches the entrance during your exit
Close the inner door before touching the outer one. If a rabbit is already in the compartment with you, keep the outer door shut and reopen the inner door to return it. Avoid holding food while leaving unless you intentionally want an animal to follow. Never strike it to clear the doorway.
The adults do not produce a baby
Confirm that both animals are fully grown, both received breeding food, and neither recently bred. Allow the cooldown to pass and remove anything separating them. Feeding just one eligible adult does not complete a pairing. Observe the heart particles rather than assuming every click reached the rabbit you intended to select.
A baby seems to be taking too long to grow
Ask whether the nursery stayed within an actively simulated area. Leaving the region or disconnecting does not guarantee that its animals keep progressing through their normal timers. Watch the baby while you remain nearby, and use breeding food if you want to accelerate growth. Do not interpret a wall clock as proof of a bug.
Carrots disappear from your planting area
Rabbits can eat carrot crops under normal game rules, which is why the plan keeps farmland outside. Repair the garden boundary and check for wild rabbits as well as escaped nursery animals. Moving the crops out of the enclosure is more dependable than repeatedly replanting where your breeding group can reach them.
Rabbits vanish or get hurt
Inspect for open doors, temporary wall gaps, predators, damaging blocks, and animals trapped during remodeling. Rabbits are vulnerable to threats such as wolves and foxes; do not bring them into the nursery. Do not assume every missing rabbit escaped by jumping. Review access habits and nearby hazards before changing an otherwise intact roofed boundary.
Java and Bedrock 1.21 considerations
The enclosure does not depend on an edition-specific redstone circuit, exploit, or precise hopping calculation. Both baseline editions support the breeding foods and the basic adult-and-baby care routine described here. Pathfinding and the feel of guiding rabbits can differ, so judge movement in your own world rather than assuming identical behavior at every doorway.
Simulation settings also affect whether distant animals continue updating. Java servers, Bedrock worlds, plugins, and add-ons can have different settings; this guide assumes unmodified survival mechanics. Neither edition lets you tame rabbits with golden carrots. The command-only Java Killer Bunny is not a naturally spawning nursery concern.
Optional upgrades that preserve the design
Build a second enclosed room before the first becomes difficult to manage. Give any connecting passage its own controlled doors, and complete its walls and roof before opening the old boundary. Recalculate materials for the extension rather than treating the starter quantities as universal.
You can improve the exterior with paths, signs, and a separate carrot garden. Keep storage outside so chests and other furnishings do not clutter the rabbit floor. A larger entrance compartment can make handling more comfortable, but it needs a new roof and wall count. Preserve the rule that one door closes before the other opens.
Safety and population management
Keep fire, lava, campfires, cactus, sweet berry bushes, and other damaging features away from the rabbits and their approach route. Light exterior working areas, and avoid moving animals while hostile mobs or predators are nearby. A solid nursery is only helpful if the journey into it is also manageable.
Stop breeding when selecting individual animals or using the entrance becomes awkward. Excess animals can complicate care and affect performance. This tutorial requires no killing, and breeding never guarantees an automatic supply of rabbit's feet or other drops.
Questions you may have during care
Do rabbits need a constant food supply?
No hunger meter requires you to keep feeding them for ordinary survival. Food is useful for attraction, breeding, and accelerating baby growth. You do not need to place crops inside or throw carrots onto the floor as a daily ration.
Can you use dandelions instead of carrots?
Yes. Dandelions and golden carrots are also breeding and attraction foods for the baseline editions. Choose whichever supply is convenient. Using golden carrots does not tame the rabbits or create a special ownership relationship, so ordinary carrots remain a straightforward practical choice.
Do you need grass, beds, or nests?
The retained grass is a convenient existing floor, not a special breeding trigger. Rabbits do not require beds or a constructed nest for this process. Keep the floor flat and safe; the two eligible adults and their food are what matter for breeding.
Can the nursery run automatically while you travel?
This is a manually managed enclosure, not an automatic breeding farm. You must feed eligible adults yourself under normal mechanics. Growth and cooldown progress also depend on simulation, so plan care while the nursery is active instead of promising unattended results.
A short maintenance routine
Before each session, check your food supply, both door positions, and the entrance floor. After each session, close both doors, look for unexpected openings, and confirm no rabbit remains isolated in the holding compartment. Recheck the roof after any nearby building work.
Keep a simple note of recent births if you regularly return to breed the same pair. You do not need precise production targets; the note merely prevents repeated attempts during cooldown. If the group becomes hard to count, pause breeding and prepare another finished enclosure before moving animals.
Further reading and your next visit
For species behavior, breeding foods, and growth details, consult the Minecraft Wiki rabbit reference. The broader breeding mechanics reference explains the underlying animal-breeding system.
For entrance behavior and placement, see the door reference. When using wiki pages that cover newer releases, check their edition and version notes against the Java or Bedrock 1.21 baseline used here.
Your finished nursery needs three reliable habits: maintain its continuous boundary, operate one door at a time, and breed only when you have room to care for the babies. Start slowly, keep the garden outside, and let observed behavior guide your next expansion.
Please support us by visiting one of our partners: Amazon