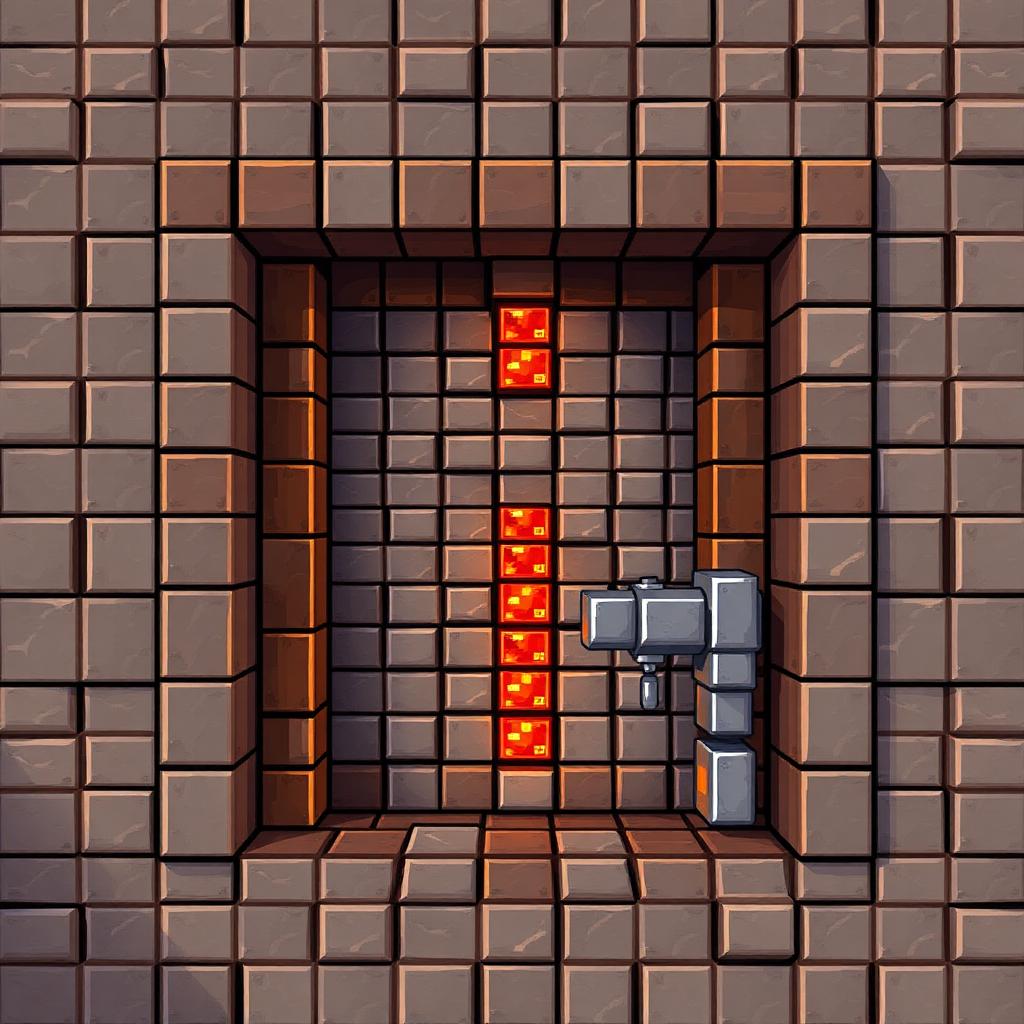
Hidden Redstone Door Behind a Painting
Introduction
What This Entrance Actually Does
A painting entrance disguises a passage with an entity that players can walk through. The painting itself never opens, closes, or becomes solid. For a genuinely switchable entrance, build a separate piston barrier behind it: the painting provides camouflage, while two movable blocks stop or allow passage.

Keep these systems separate. Moving the blocks that support a painting can make it drop. This guide starts with a walk-through painting, then adds a two-block-high barrier farther inside. Exact painting-placement behavior can differ between Java, Bedrock, and server implementations, so validate the disguise before building the mechanism.
Materials and Space
For the disguise, gather one painting, two ordinary wooden wall signs, and blocks matching your wall. A painting is crafted from eight sticks and one wool block. Have extra signs and wall blocks available if your chosen artwork needs a wider backing area.
For the powered barrier, use two sticky pistons, two ordinary movable full blocks, one lever, two repeaters, redstone dust, and solid blocks for supporting the wiring. The dust and structural-block quantities depend on your control location. Avoid obsidian, containers, and other blocks with movement restrictions; ordinary stone is suitable.
Reserve a one-block-wide, two-block-high passage, a side pocket for its retracting blocks, and wiring space beyond the pistons. Leave at least one clear block of corridor between the painting-support plane and the moving barrier. Light the interior and retain another exit until testing is complete.
Build and Validate the Painting Disguise
Step 1: Build a solid wall with a one-block-wide, two-block-high opening. Leave enough uninterrupted wall around it for the artwork. A two-block-wide, two-block-high painting is a useful target because it covers the passage plus an adjacent wall column.
Step 2: Place one wall sign in each block of the opening, attached to a solid side wall. Keep them blank. Ordinary signs have no player-blocking collision, making them preferable to fence gates: a closed gate physically blocks passage. Keep the side blocks supporting these signs permanently in place.
Step 3: Try placing the painting against the signs from the room side, with its face aligned to the visible wall. Aim at the sign face, using sneak-place if normal interaction opens sign editing in your version. The surrounding backing area must accommodate the painting’s full dimensions. Do not assume artwork can hang across unsupported air.
Step 4: Adjust the available placement area if the resulting painting is too small or too large. Temporary blocks around the intended boundary can constrain eligible sizes; remove only blocks outside the finished painting’s required backing. Painting selection and available variants differ by version, so repeated placement may be necessary.
Step 5: Walk through from both directions, then leave and return. Confirm the painting remains attached and the signs do not obstruct you. If sign-backed placement fails on your edition or server, stop here rather than building around an unstable disguise. A practical fallback is the same recessed piston entrance hidden around a short corner, with a painting mounted on a permanent solid wall beside it.
Add the Recessed Piston Barrier
Step 6: At the barrier position farther down the corridor, stack two sticky pistons beside the passage, facing horizontally toward it. Leave one block of space between each retracted piston face and the passage. This space is the storage pocket for the corresponding door block.
Step 7: Place a movable full block against each retracted piston face. Viewed across either height of the doorway, the arrangement is piston, door block, then passage. Extension pushes each block one space into the passage; retraction pulls it back into the side pocket. Keep both destination spaces empty and box in the pocket so players cannot bypass the barrier sideways.
Step 8: Place a repeater directly behind each piston, pointing into its back. Each repeater needs a supporting block underneath. Feed both repeater inputs from one lever using separate dust branches and a supported staircase where the upper branch changes elevation. Leave air above ascending dust and avoid accidental connections to nearby wiring.
Step 9: Test with the wiring exposed. Lever on should extend both pistons and close the passage; lever off should retract both blocks. Directly powering both pistons avoids relying on Java-only quasi-connectivity. Use steady lever signals rather than short pulses, whose sticky-piston behavior differs between editions.
Controls, Troubleshooting, and Safe Finishing
Step 10: Place the lever somewhere discreet but reachable from both sides, such as an accessible side recess. Otherwise, keep the alternate exit: an exterior-only lever can trap you. Two independent controls require an appropriate control circuit; simply joining two levers means either powered lever can hold the barrier closed.
If only one piston moves, check repeater direction, supporting blocks, and whether both inputs receive power. If blocks will not retract, confirm both pistons are sticky and their power actually switches off. If the painting drops, check its backing and move the mechanism farther away.
Finally, conceal wiring behind removable wall blocks and repeat the complete entry-and-exit test. Do not put carpet over pressure plates; that is not a working concealment method. This entrance hides your route, but it is not security against players who can break blocks or recognize painting passages.
Please support us by visiting one of our partners: Amazon